Do you have some spare fabric laying around that you don’t know what to do with? Why not make a sash? Learn how to make your own custom Fabric Belt or Sash in a few short and simple steps. All you will need for this project are some basic sewing supplies, a quilt ruler, and a rotary cutter. Check out the entire lesson over at Polkadot Chair
Key Takeaways:
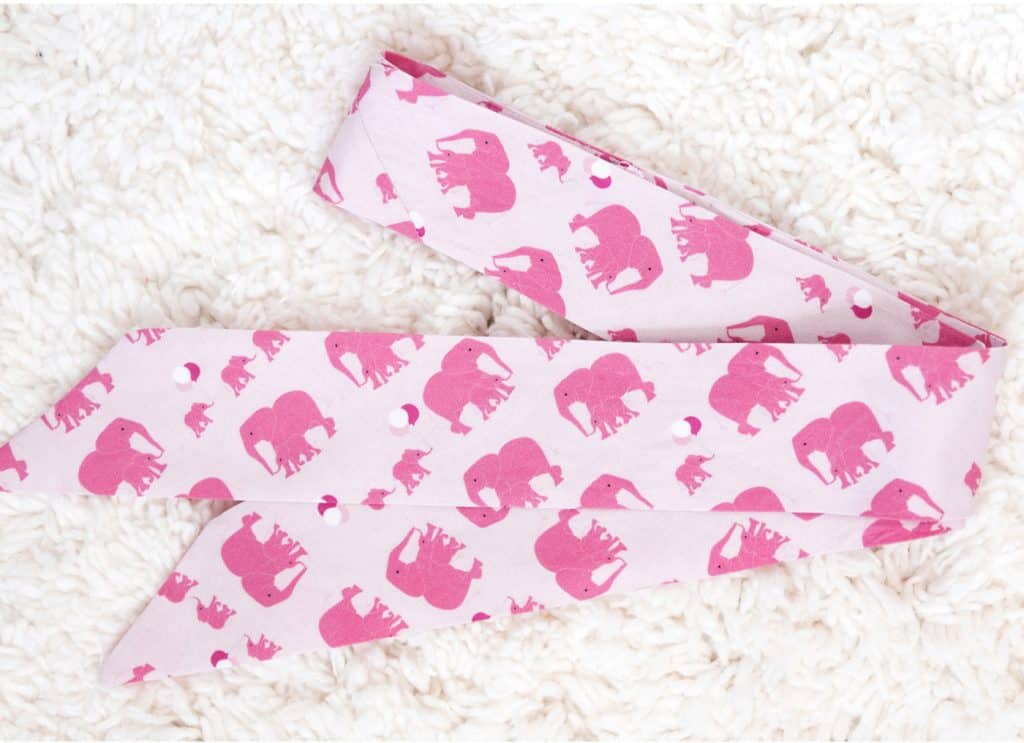
- To make a fabric or sash, you should use 1 yard of fabric. This will be enough to make at least one belt that is 52″ long. You can make more belts with the yardage as well, but you may have to stitch a few cut pieces together to make longer pieces. The fabric I used is from my Safari Party Line.
- To make a belt that is 52″ long you will need to cut 2 pieces of fabric each 6″ wide on the bias. To do this I just leave my fabric folded the way that it came on the bolt. Since it is doubled over you can cut both pieces at the same time.
- ext, stitch the two pieces together along one end. To do this you’ll need to rotate the fabric, you want one long piece of fabric that is straight. If you’re worried about lining up the angled ends, just blunt off one end of each of the pieces and stitch them together this way. Also if you are matching a fabric, you’ll need to do it that way as well, as rotating the fabric will change the direction of the pattern. Trim your seam allowance down to 1/8″ – 1/4″.
“The belt I made measures about 52″ long and 2 1/2″ wide which is long enough to fit the waist of a size 6. If you want to make it longer (heaven knows, I’d need a longer one for myself ) then you can just add more pieces to the belt (I’ll show you how in the tutorial).”


Leave a Reply
Want to join the discussion?Feel free to contribute!